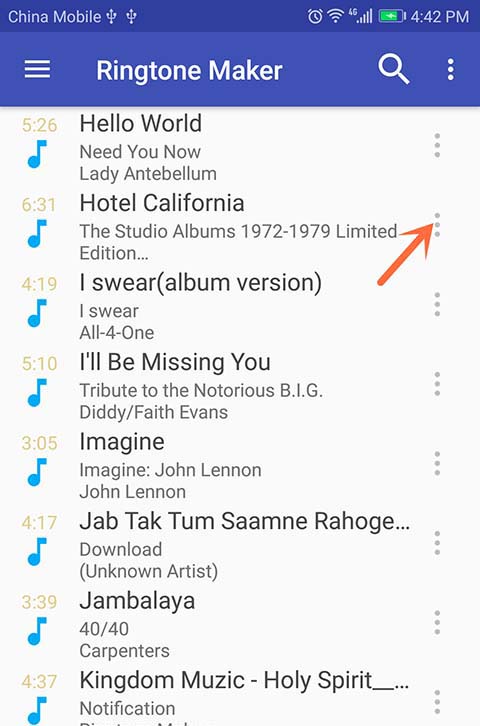
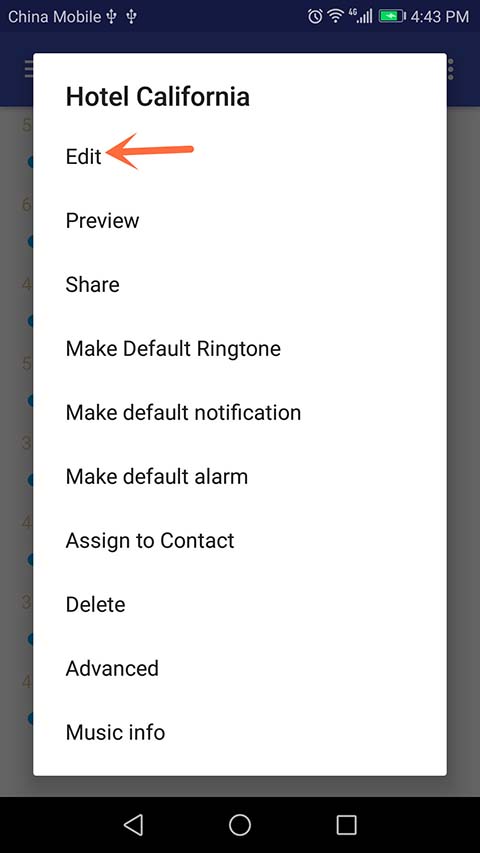
Step 1: After opening the application,you should see a list of audio files present on your android device as shown below. Now, tap the three dots next to the song you wish to edit, then select 'Edit'.
Step 2: To select where you want the ringtone to begin/end, hold and drag the first and second adjustment buttons respectively to your desired length.
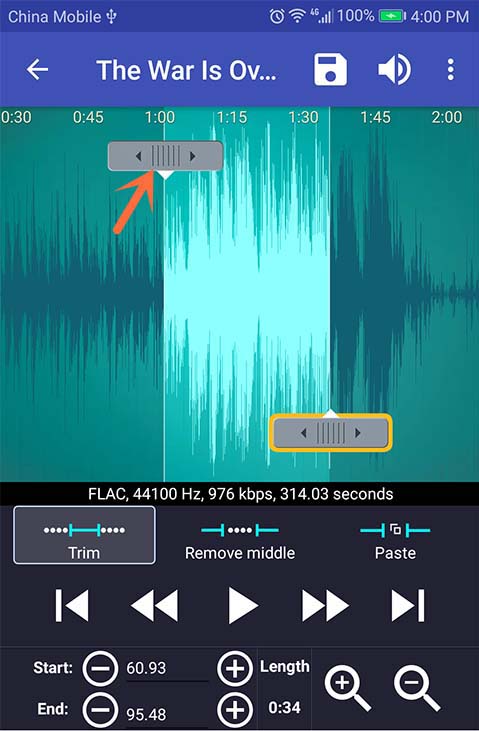
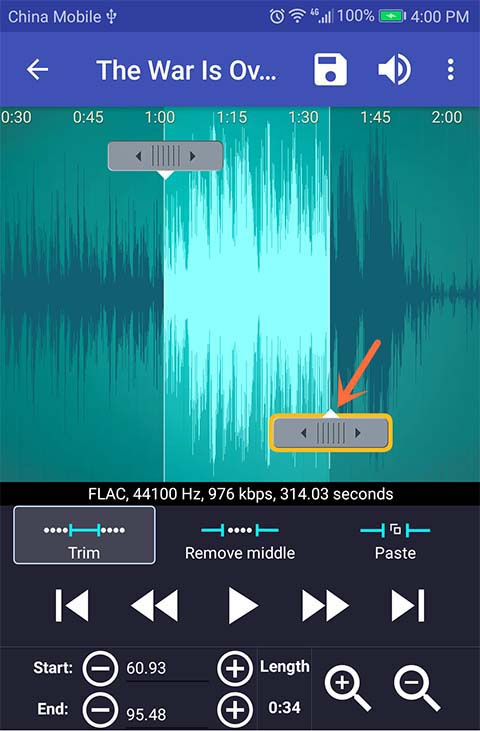
In order to get a more precised outcome and result, you can tap the Zoom in(+) or Zoom out(-) buttons to adjust the screen's view.
Also, if you know the exact time you would like the ringtone tone to start/end, you can directly input your desired values in the given fields.
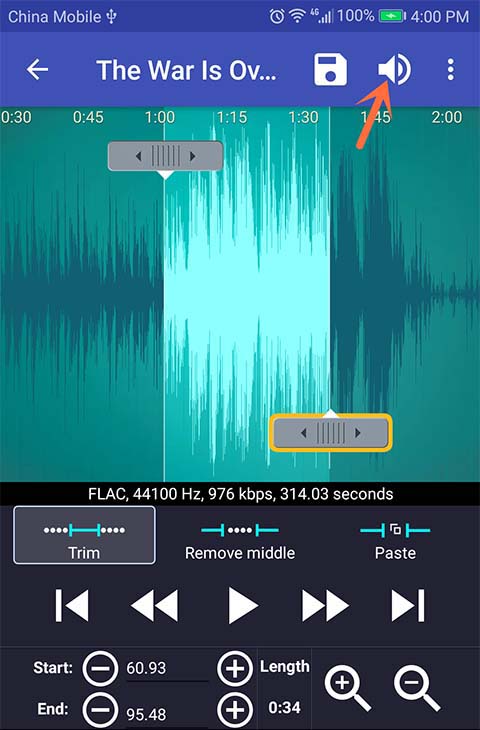
Step 3: To use the Fade in/Fade out effect, press the three dot in the upper right corner. Then select 'Fade and Volume'. Fade and Volume change feature only support mp3 format right now.
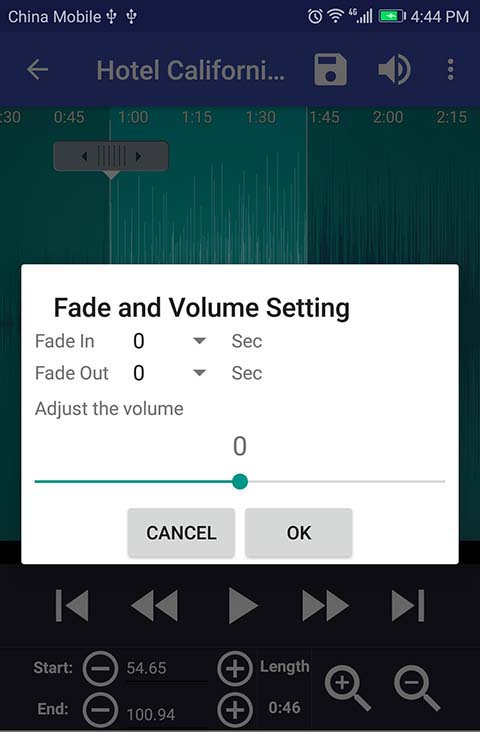
Tap the option button while still editing then set how long you want the effect to last(in seconds).
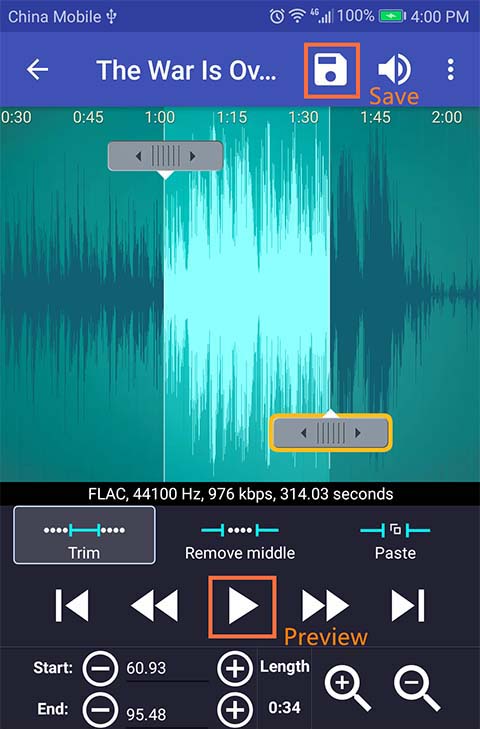
Press the 'Play' button to preview. If it's OK, tap the 'Save' button on the right upper corner of your screen to save your newly created tone.
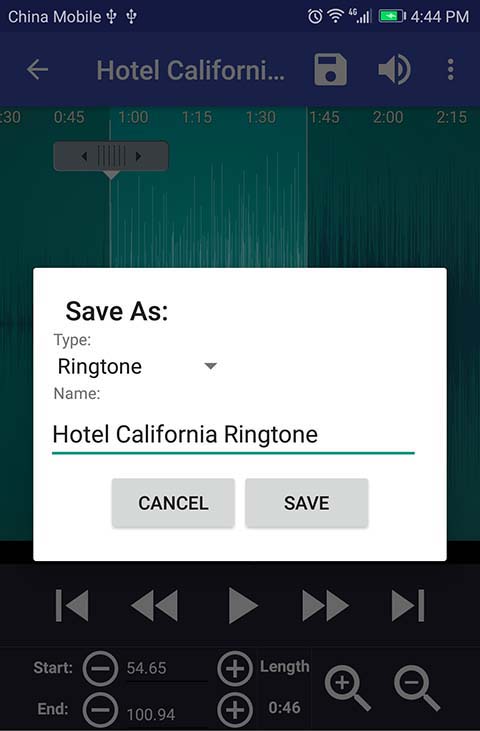
After you tap the save button, a menu will show up on which you are to select what you want the tone to be saved as and input the name the file will be saved as. After this, tap 'Save' and your ringtone will be saved.
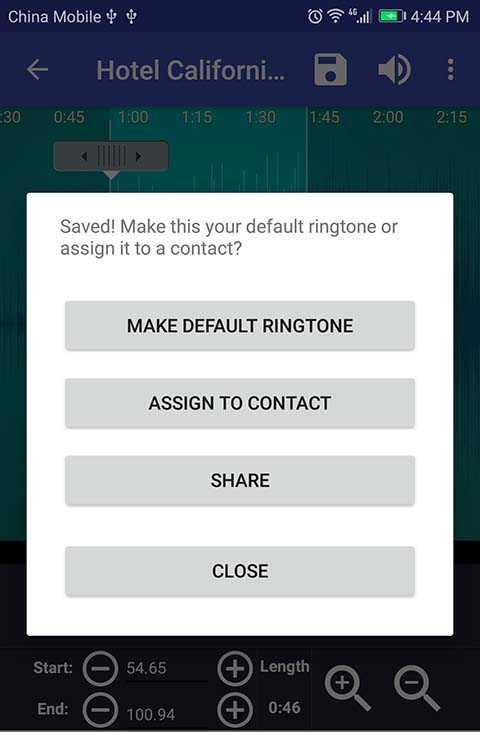
After saving your file, a pop-up menu will appear providing you with four options to choose from.
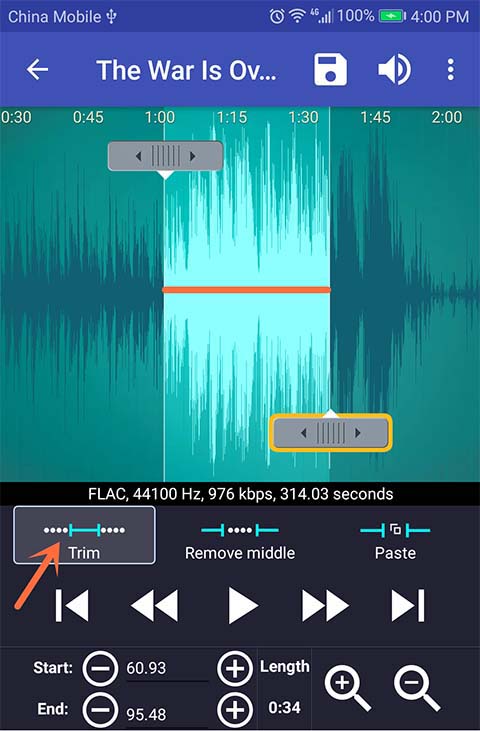
1. Trim mode: In trim mode, your selection is the range between left and right bar. Preview and save will chose the highlight part.
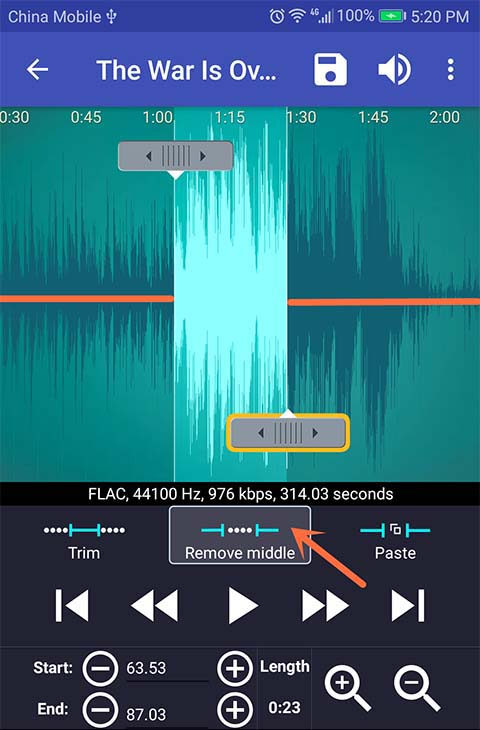
2. Remove middle mode: In remove middle mode, your selection between left and right bar will be removed. Preview and save will discard this part, please see below picture for reference, you will get the highlight part.
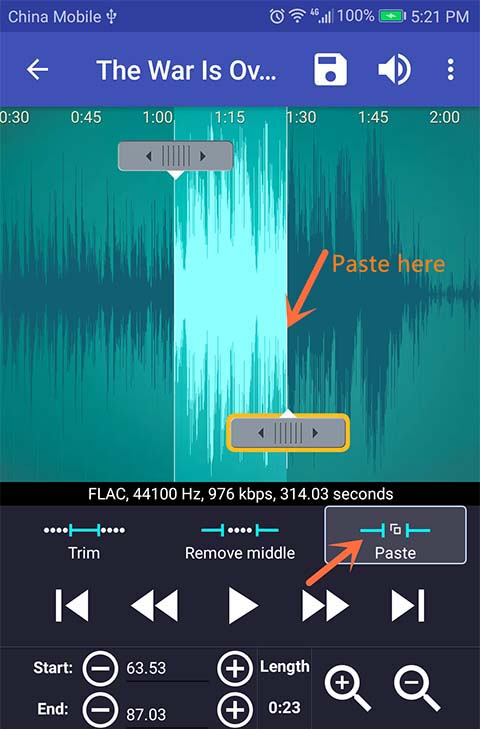
3. Paste mode: In order to use paste mode, your need to copy or cut first, copy and cut button hidden in the menu.
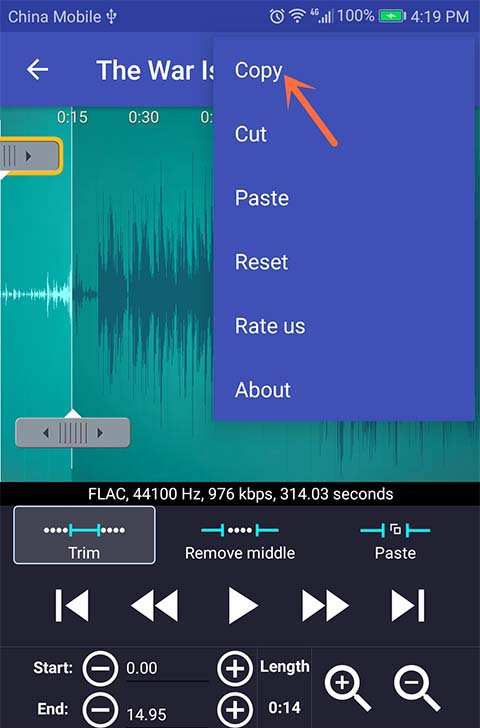
After copie or cut, music will be stored to clipboard, you can paste to current music or other music files. The only limitation is require same music type, copy mp3 and paste to mp3, copy m4a and paste to m4a, etc.
You can paste to whatever position you want. Paste will insert music of clipboard to right bar. You can press 'Play' button to preview. If it's not OK, drag the right bar to adjust. If it's OK, tap the 'Save' button on the right upper corner of your screen to save your newly created tone. Then you'll have two music files join together.